Popcorn Ceiling Removal Services for Property Owners
This page helps property owners learn about popcorn ceiling removal services and compare local contractors who handle the work.
- - Residential homeowners seeking to update or modernize their living spaces with popcorn ceiling removal.
- - Property managers or landlords preparing units for leasing or sale by removing outdated ceiling textures.
- - Commercial property owners looking to improve ceiling aesthetics and safety in office or retail spaces.
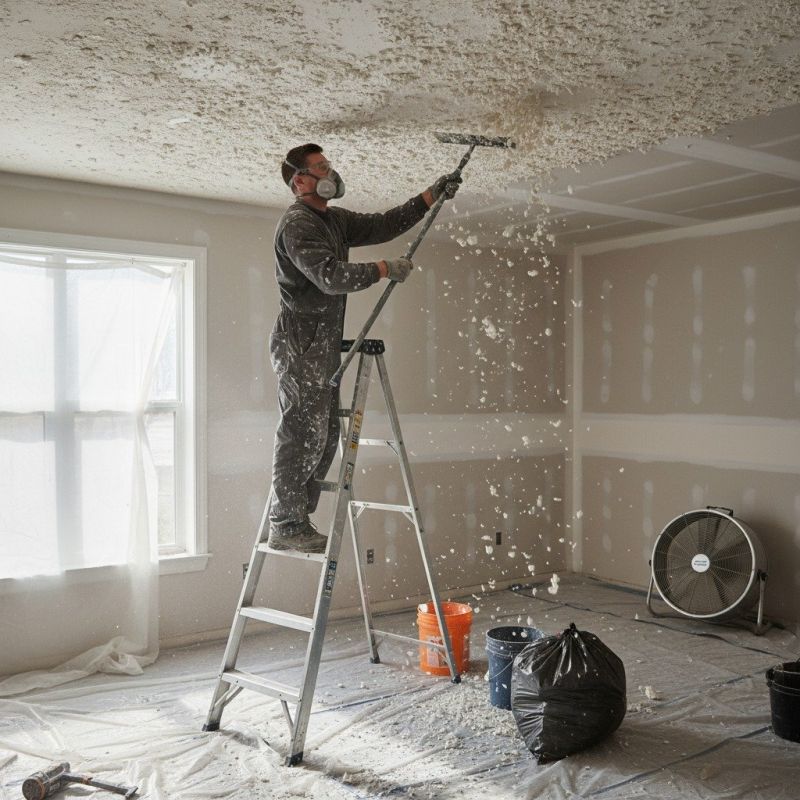
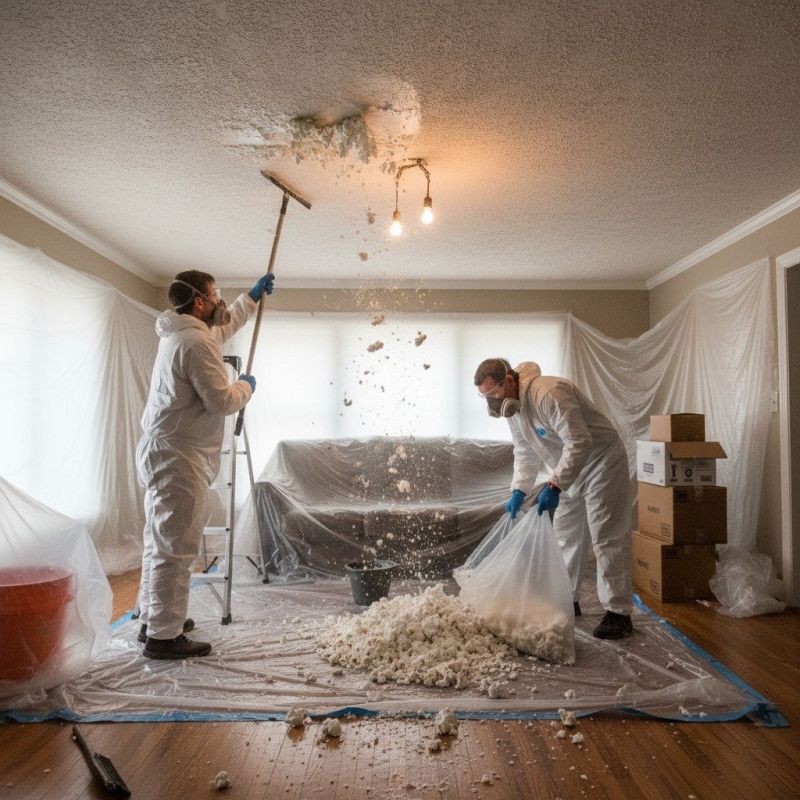
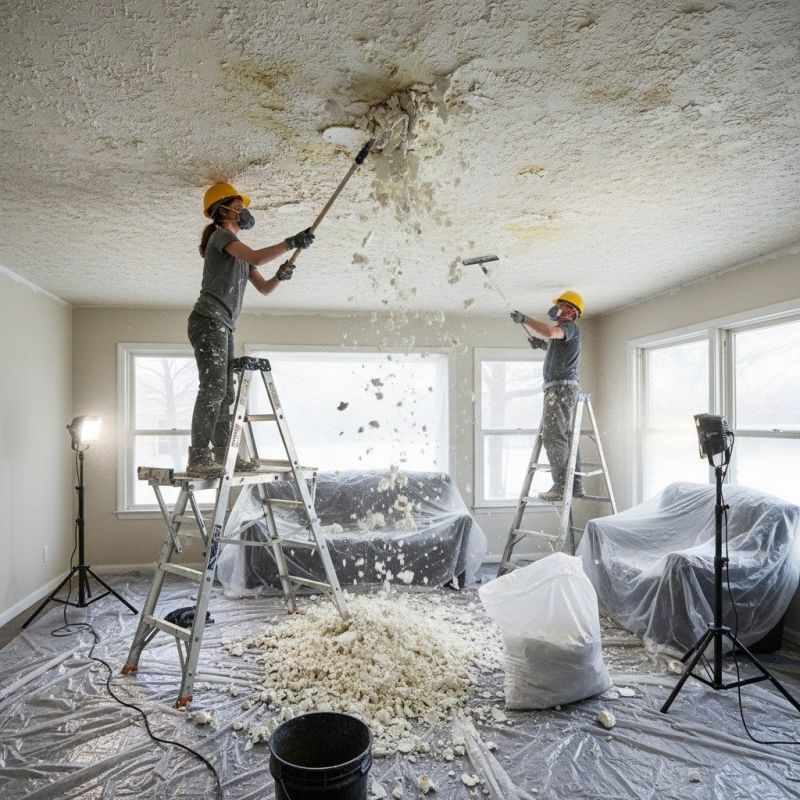
Popcorn ceiling removal is a common home improvement service sought by property owners looking to update the appearance of their ceilings. Local contractors who specialize in this work typically handle the process of safely removing textured popcorn finishes, which can sometimes contain materials like asbestos in older homes. These service providers are experienced in preparing ceilings for a smooth finish, managing the removal process efficiently, and providing options for finishing or repainting to achieve a modern look.
Homeowners often turn to local pros for popcorn ceiling removal when aiming to refresh their living spaces or improve the overall aesthetic of their interiors. These contractors are equipped to assess existing ceilings, address potential challenges such as uneven surfaces or damage, and deliver professional results. Connecting with experienced local service providers can help ensure the work is completed properly and aligns with the homeowner’s vision for their space.
This guide provides helpful information to understand the popcorn ceiling removal process and what to expect. It assists in comparing local contractors and connecting with experienced service providers in the area. The content aims to prepare homeowners with the basics needed to discuss their project confidently.